Howdy folks,
I hope the start of summer is treating you well. I am finally getting around to posting on my Danger Close game from Cangames a few weeks back. Given the weather and some of the Cangames standards, it ended up being a tough sell…lots of folks game by and took pics of the table, but not a lot of takers on the Danger Close ruleset. Regardless, Duncan and I pressed on and I really like how the rules played out…this also gave us a chance to really run all of the game elements and effects, in particular the morale mechanics.
The Setup: Local confidential informations (CI’s) have been all abuzz, seems like the infamous Little Tony Michigan and his Vanilla Cartel group have been working out of a camp in the middle of the Arkansas woods. DEA have responded and are getting ready to hit the camp and prosecute a high-risk arrest to take in Little Tony.
The Players: the scenario can accommodate up to 4 players, with 2 teams of law enforcement and 2 teams of Cartel/Mob. The DEA had a team of 4 x field agents and a Special Response Team of 4 x agents who are extra trained in breaching ops and carrying out high risk arrests. The Cartel had Little Tony with 4 x thugs and there was a Russian Mob team that was 5 x thugs. Each team has a special skill and rule that is relevant to them only. It either let them re-roll a failed test/shot, shrug off morale/stress, or share action points with their team. Each team also had their own objectives so that this wasn’t just a kill game.
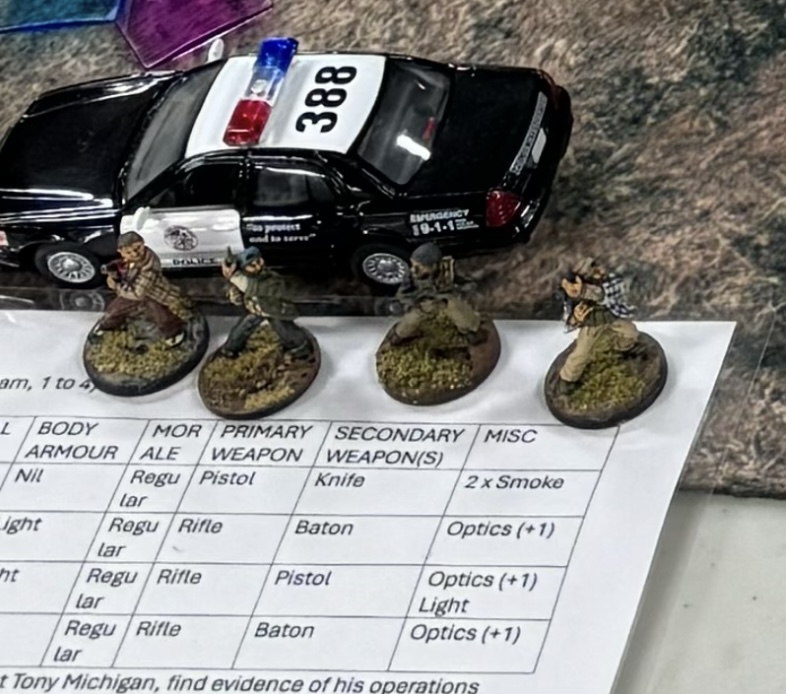
The DEA field agents…they can take a free move into cover or re-roll failed to hit. The field agents had to collect evidence along the way to get a solid case on Tony (for this, I used Fallout search tokens).
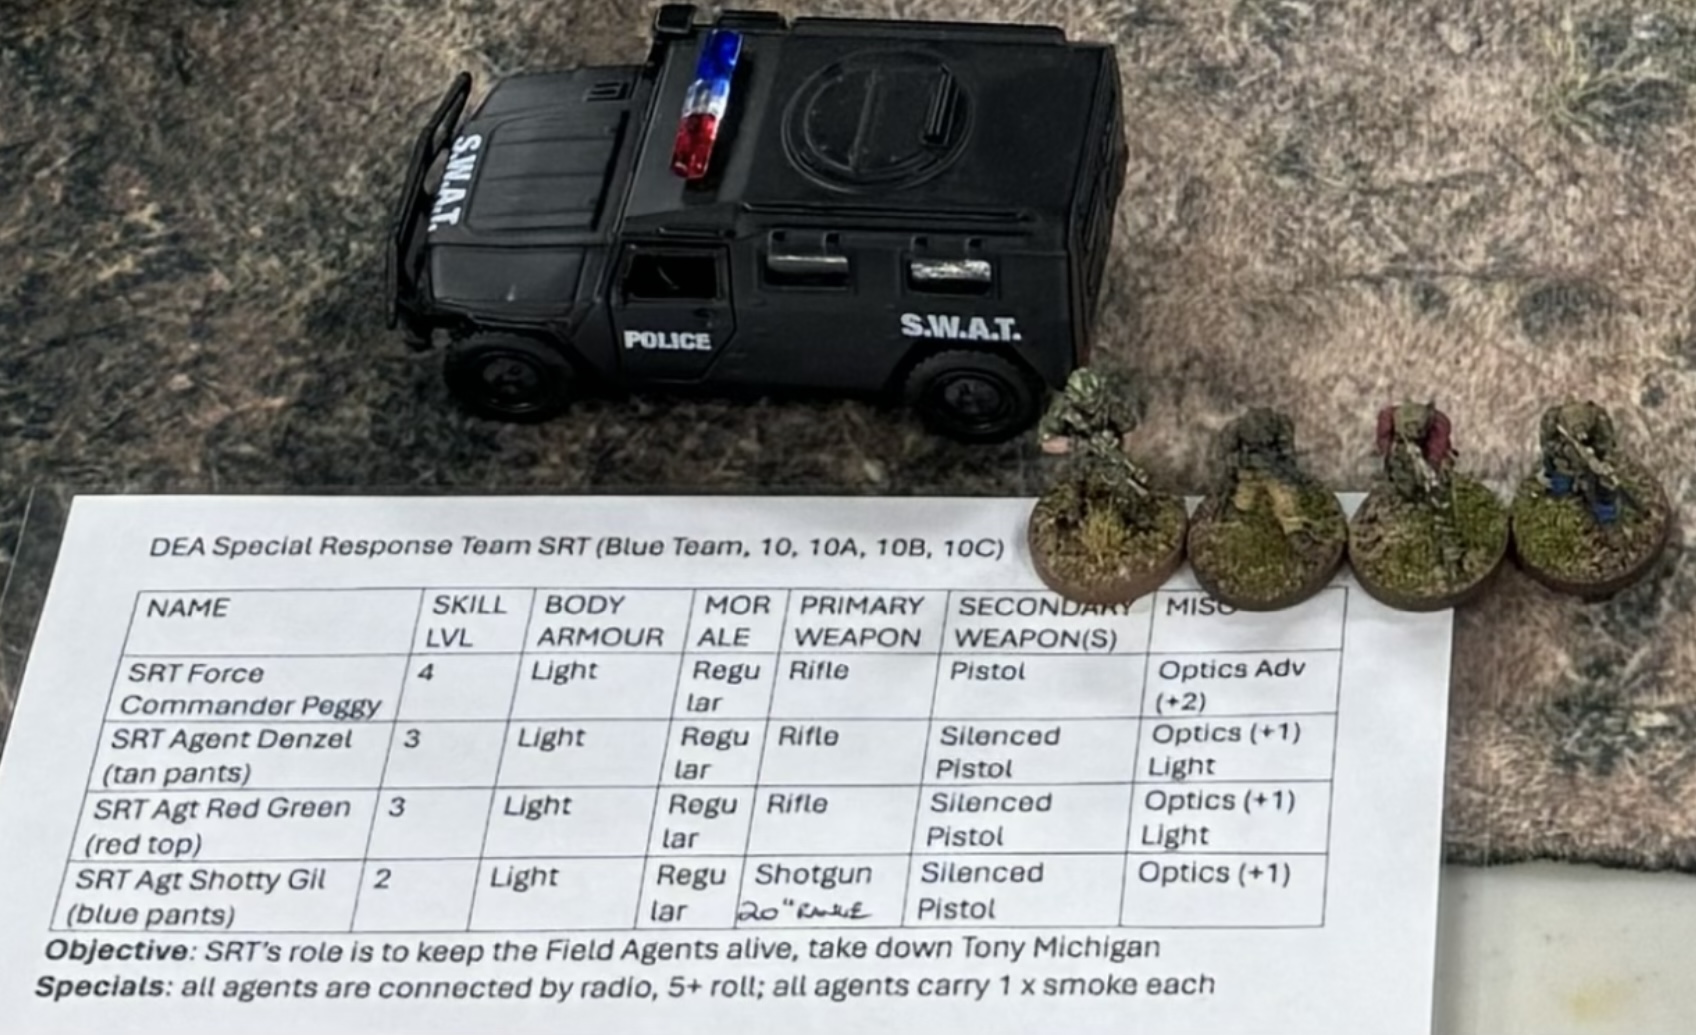
The DEA SRT team, they are breachers and can re-roll melee dice. The SRT had to ensure that the field agents were not in harms way and provide overwatch protection.
Little Tony (apologies for the messed up photo)…he can share action points with his guys if they are in LOS, his Lt. can extend the range of LOS, and the boys can make a free move if they are carrying any boxes of product.
Another wonky photo…sorry. The Russian mob, they were partnered with the Vanilla Cartel, but they had the task of finding the Accountant before the DEA did. Their special skills were shrugging off melee hits and re-rolling melee attacks.
The Game:
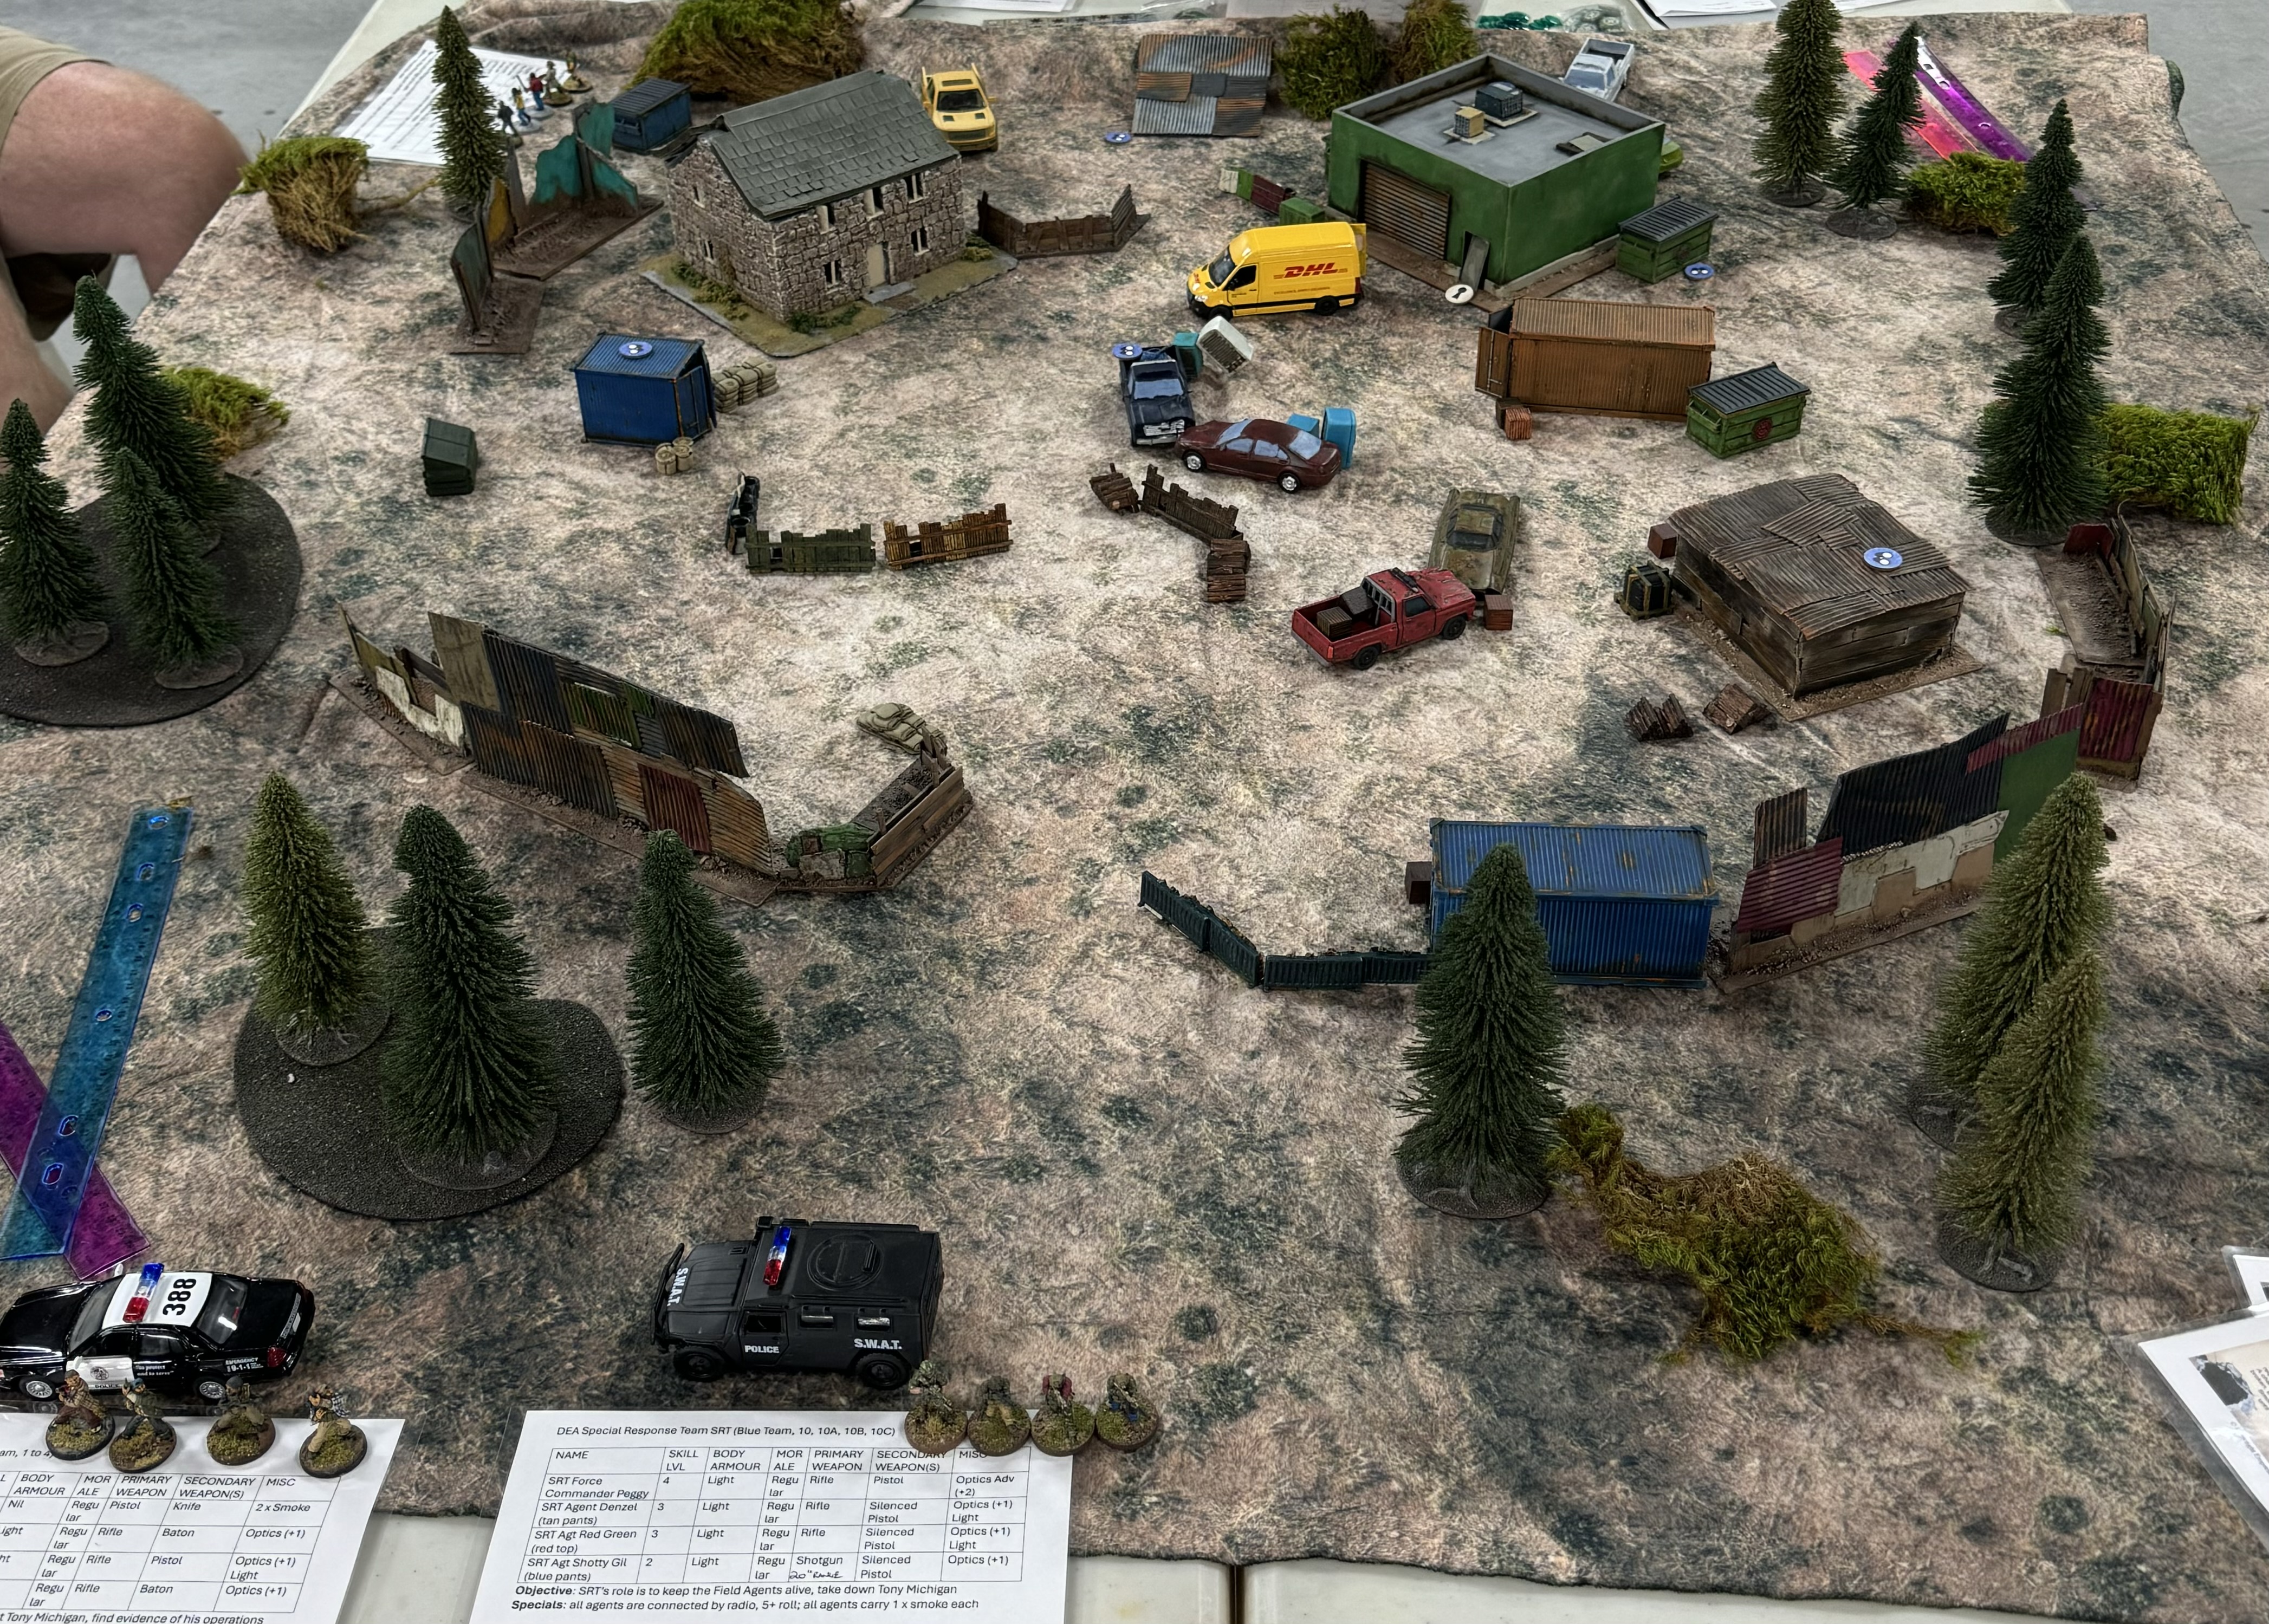
Little Tony’s camp is setup at a scrap yard, plenty of beat up vehicles, random corrugated walls, and trash to block LOS and provide cover. The tokens that look like binoculars are search tokens (from Fallout Wasteland Warfare) and key holes are locked doors (from Fallout as well). There are several wooden boxes scattered around the table, the yellow and light brown are full of product. If the camp is going down, Little Tony wants to get some of the goods out to ensure the financial survival of the Cartel…not to mention, keep those Colombians suppliers happy.
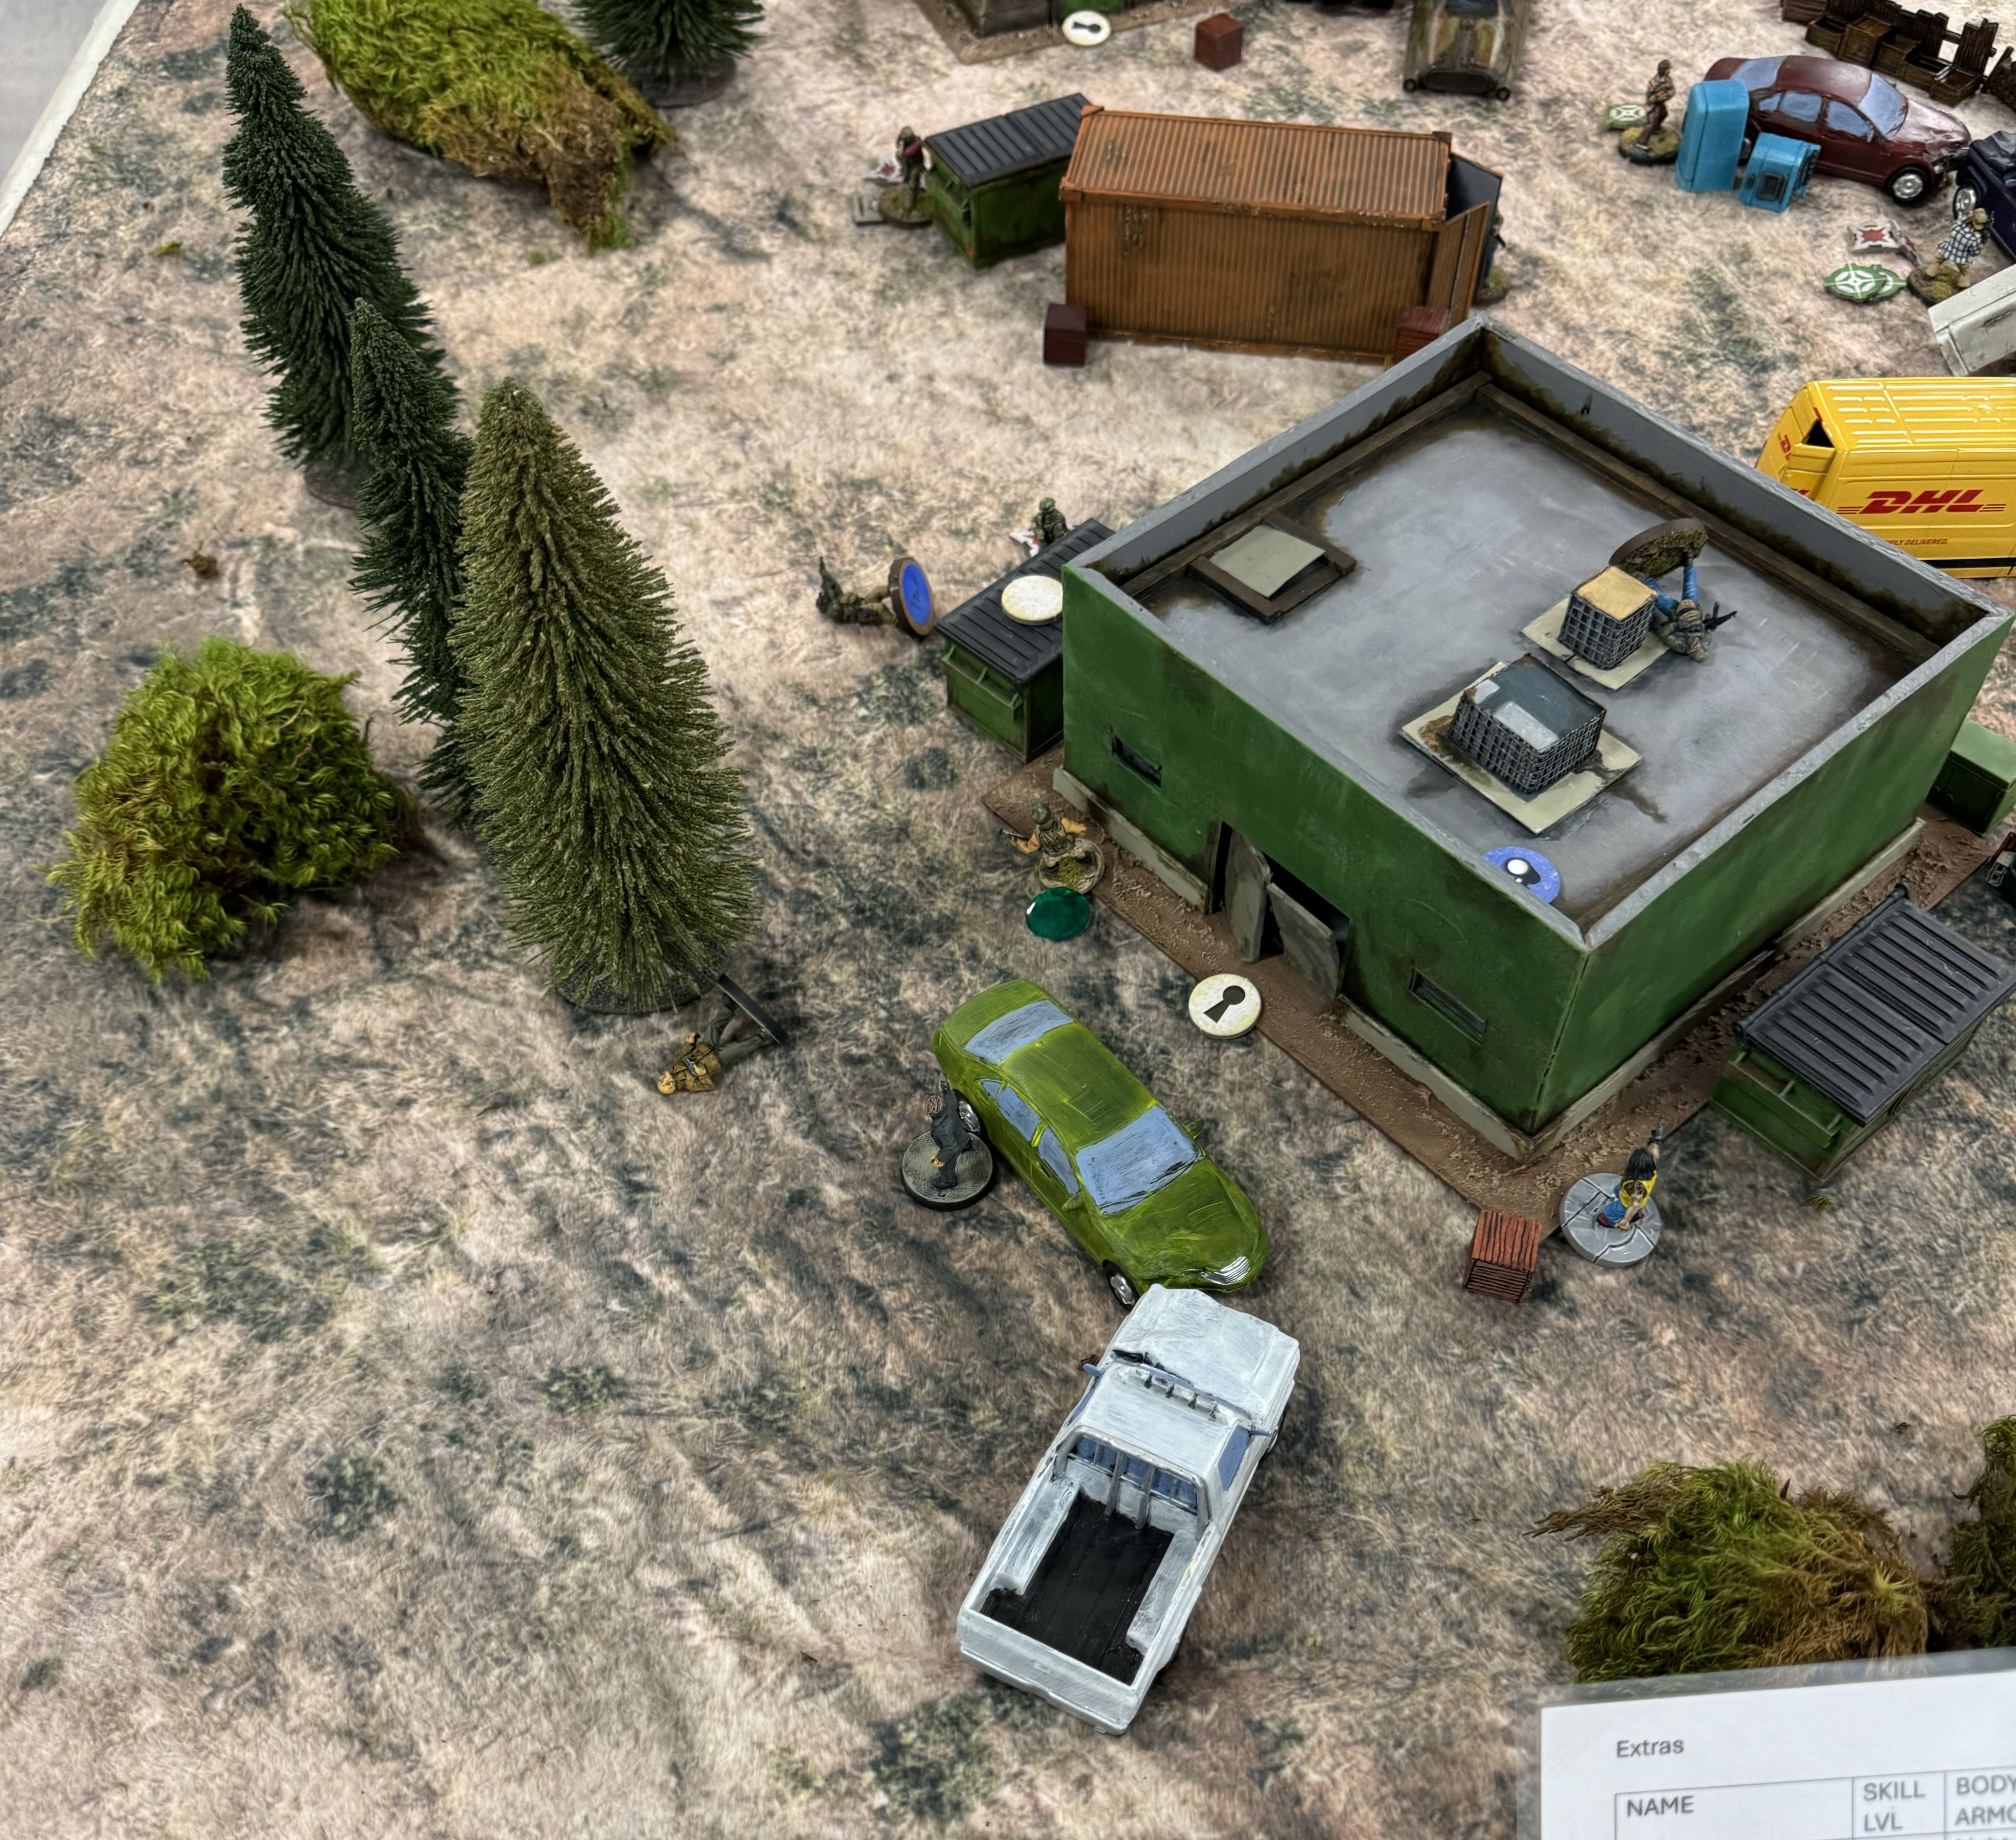
The overall table layout…top pic is from Cartel/Mob view, bottom pic from Law Enforcement perspective. You can see the various search and locked tokens…and plenty of scatter terrain with a few pieces of terrain that can be interacted with, i.e. house, shed, garage, and sea cans.
Initial moves: you can see Cartel and Mobsters getting into position behind cover. Jersey Lee and Greyman get in behind a sea container…you can see the DEA have moved up as well behind the barricades.
Little Tony gets in behind some oil drums, Moo Moo Mike is to his right on overwatch, with another thug in a prepared position up ahead of Tony’s location.
The DEA had the option of walking in or driving in…Duncan elected to roll in hot with the wheels. On entry into the camp, he had to roll to see if the vehicles hit some hidden tire popppers or not. The initial move by the SRT armoured van made it through and headed over for the shed. The field agents were not as lucky and tripped the poppers. Their car came to a halt at the entrance…they scrambled out, using their actions to move and their special ability to get a free move into cover.
The SRT disembarks and stacks up at the shed entrance. They successfully breach the door and find it occupied by the wild eyed accountant who is armed with a 44 magnum. This triggers an initiative roll…which the SRT agents win and they are able to get inside before the accountant squeezes off a shot. Duncan was able to get to base contact and rolls for melee/arrest and brings down the accountant.
They successfully roll for the breech and charge into contact. They then roll a successful evidence search.

The DEA field agents toss a smoke grenade (green paper…I had forgotten my smoke clouds). You can see, the SRT is in the shed, the field agents are slowly making their way to centre field, Little Tony’s guys are making their way to vantage points as well as recovering boxes of product.
The accountant is hauled into the back of the armoured van for safe keeping - this will put pressure on the Russian Mob team and force them to close in with the SRT and ‘rescue’ the accountant.
A small firefight erupts by the 10 foot blue sea container with a DEA agent getting wounded. The DEA were restricted by their Rules of Engagement so they could not fire unless fired upon.
The green smoke sticks around for a while providing some good cover for the field agent stuck behind the blue truck in the centre of the table. You can see that the agent is spotted by multiple thugs (green token) and is piling up the stress (red tokens). The second pic gives a great view of the agent with Little Tony taking a few shots at him.
At this point of the game, we triggered a couple of game events, the first one was inspired by the song Copperhead Road by Steve Earl, “DEA’s got a chopper in the air”…so Duncans agents did not have to spend any actions for spotting, they had visibility on all figures on the table. The second was inspired by the movie Den of Thieves, “we aren’t the arresting type”…for that turn, the DEA were in a permissive ROE environment so they could shoot to kill without having to take fire first.
This did make things a little more challenging for my Russian crew who were trying to circle around the camp to get to the Accountant, and Little Tony’s guys were about to start feeling the heat. The BlueJean dude jumped on top of the garage to try to get a shot off at the field agents, he is subsequently hit and killed. Jersey Lee is heading for boxes of product and moving them back to the truck near Tony.
The Russian’s are in a firefight with the SRT, brown jacket Igor goes down hard, and if I remember correctly Boxershort Gregor puts a shotgun blast into one of the SRT agents for the kill. The green chips denote being in the prone position.
The gunfight keeps going…folks are going prone to try to get some advantage, or they have tripped morale/stress conditions. You can see that Boxershort Gregor has taken 3 stress and 1 injury token (3 injuries and you’re out…light, seriously, and dead). Greysuit Yuri is trying to get cover behind the green car, having failed his stress roll, he is in cover, no actions, and in prone position.
You can see everyone is making their way forward, grabbing cover where they can. Tommy Gunn is hunkered down behind the DHL van, agents are in the centre of the scrap yard using old fridges and vehicles for cover.
The following turn, a lot of action has happened. The field agents and Tony’s boys are heavily engaged on the right side…in a big upset, the Greyman took a few injuries and was subsequently knocked down in melee and arrested. Duncan secured Grey and moved him behind the barricades. As well, Tommy Gunn was taken down hard and killed by a SRT agent. Little Tony is starting to feel the stress of it all as well, he has 2 stress tokens. Sensing some desperation, one of Tony’s guys finishes loading the truck and starts to drive out of camp…only one way out unfortunately, so he has to thread the needle between the barricades.
Moomoo Mike, who had been trying to hold the right side of the yard goes down in a hail of bullets.
Followed-up by the thug in the truck getting taken out by a headshot. The second pic, you can see Jersey Lee falling to the brutality of the DEA.
The SRT is rolling up the Russians…the field agents are doing a great job of holding on, Duncan is making his normal amazing die rolls. And in a blaze of glory…Little Tony Michigan, falls to a hail of dirty law enforcement bullets.
Overall, it was a really enjoyable game…there are a lot more mechanics involved in the game, but it is really easy to dial it up or down should you choose. Glad to have the chance to run a game, certainly the larger tabletop was a lot of fun. Thanks to Duncan for taking up the challenge of playing DEA for the afternoon.