Showing posts with label Tutorial. Show all posts

Friday, 29 July 2022

Painting Update - Basing Colours

Howdy Folks,

Happy end July to everyone...the month has surprisingly gone by very quickly, and definitely seen some interesting weather come through the province. The last week has been especially interesting given how much changing air pressure messes with my injuries...and last nights weather really was quite something to watch. Luckily all safe here, most of the really 'interesting' stuff developed south and east of us, and I hope all is safe where you are interneting.

For this post, I thought I would give a psuedo painting update and quick tutorial or guide on how I paint up my bases. The idea came for this came from a Reddit post I saw where someone was looking for some advice on getting more texture and colour out of their base painting. I've done this before in the past with some Cold War Infantry from Battlefront, as you will see at the link and below, I definitely have a system and standard-ish scheme that I like to use.

Hope this is of us...have a good one.

All figures are from Empress Miniatures and unless stated I'm using Vallejo, from left to right I have 3 different colours. Base colour is Burnt Umber, then dryish brush of Flat Earth, and then a dryer brush of Beige Brown.

I then had the idea of just putting the paint bottle behind the figure so you could see the name of the paint and the progress of the layers. So as above, left to right, with the inclusion of a standing sniper at the bottom of the pic. In this case, the base layer is still Burnt Umber and then dryish of Desert Yellow.

So you can see the next layer for each model, again left to right with Flat Earth for prone sniper, Beige Brown for green jacket, and Tan Earth for green toque.

Progressing the figs...I'm now adding Iraqi Sand for green toque, a fairly dry brush of that, I don't want it to overpower, just to lighten a little.

For my standing sniper, I thought I'd catch up...Desert Yellow was layer two, and then a dry brush of Iraqi Sand to make stuff pop...my next step will be to flock and overcoat...you'll see the finished figure on a follow-up post.

Just catching the other figures up...you can see Tan Earth for the prone dude, and Iraqi Sand now for green jacket.

For prone dude, I added some Army Painter Strong Tone to the base and I'm just hitting creases and areas that I want shadowed tone. Helps to break up the terrain from the figure and give some depths, especially to the improvised wall he has built up in front of him.
 
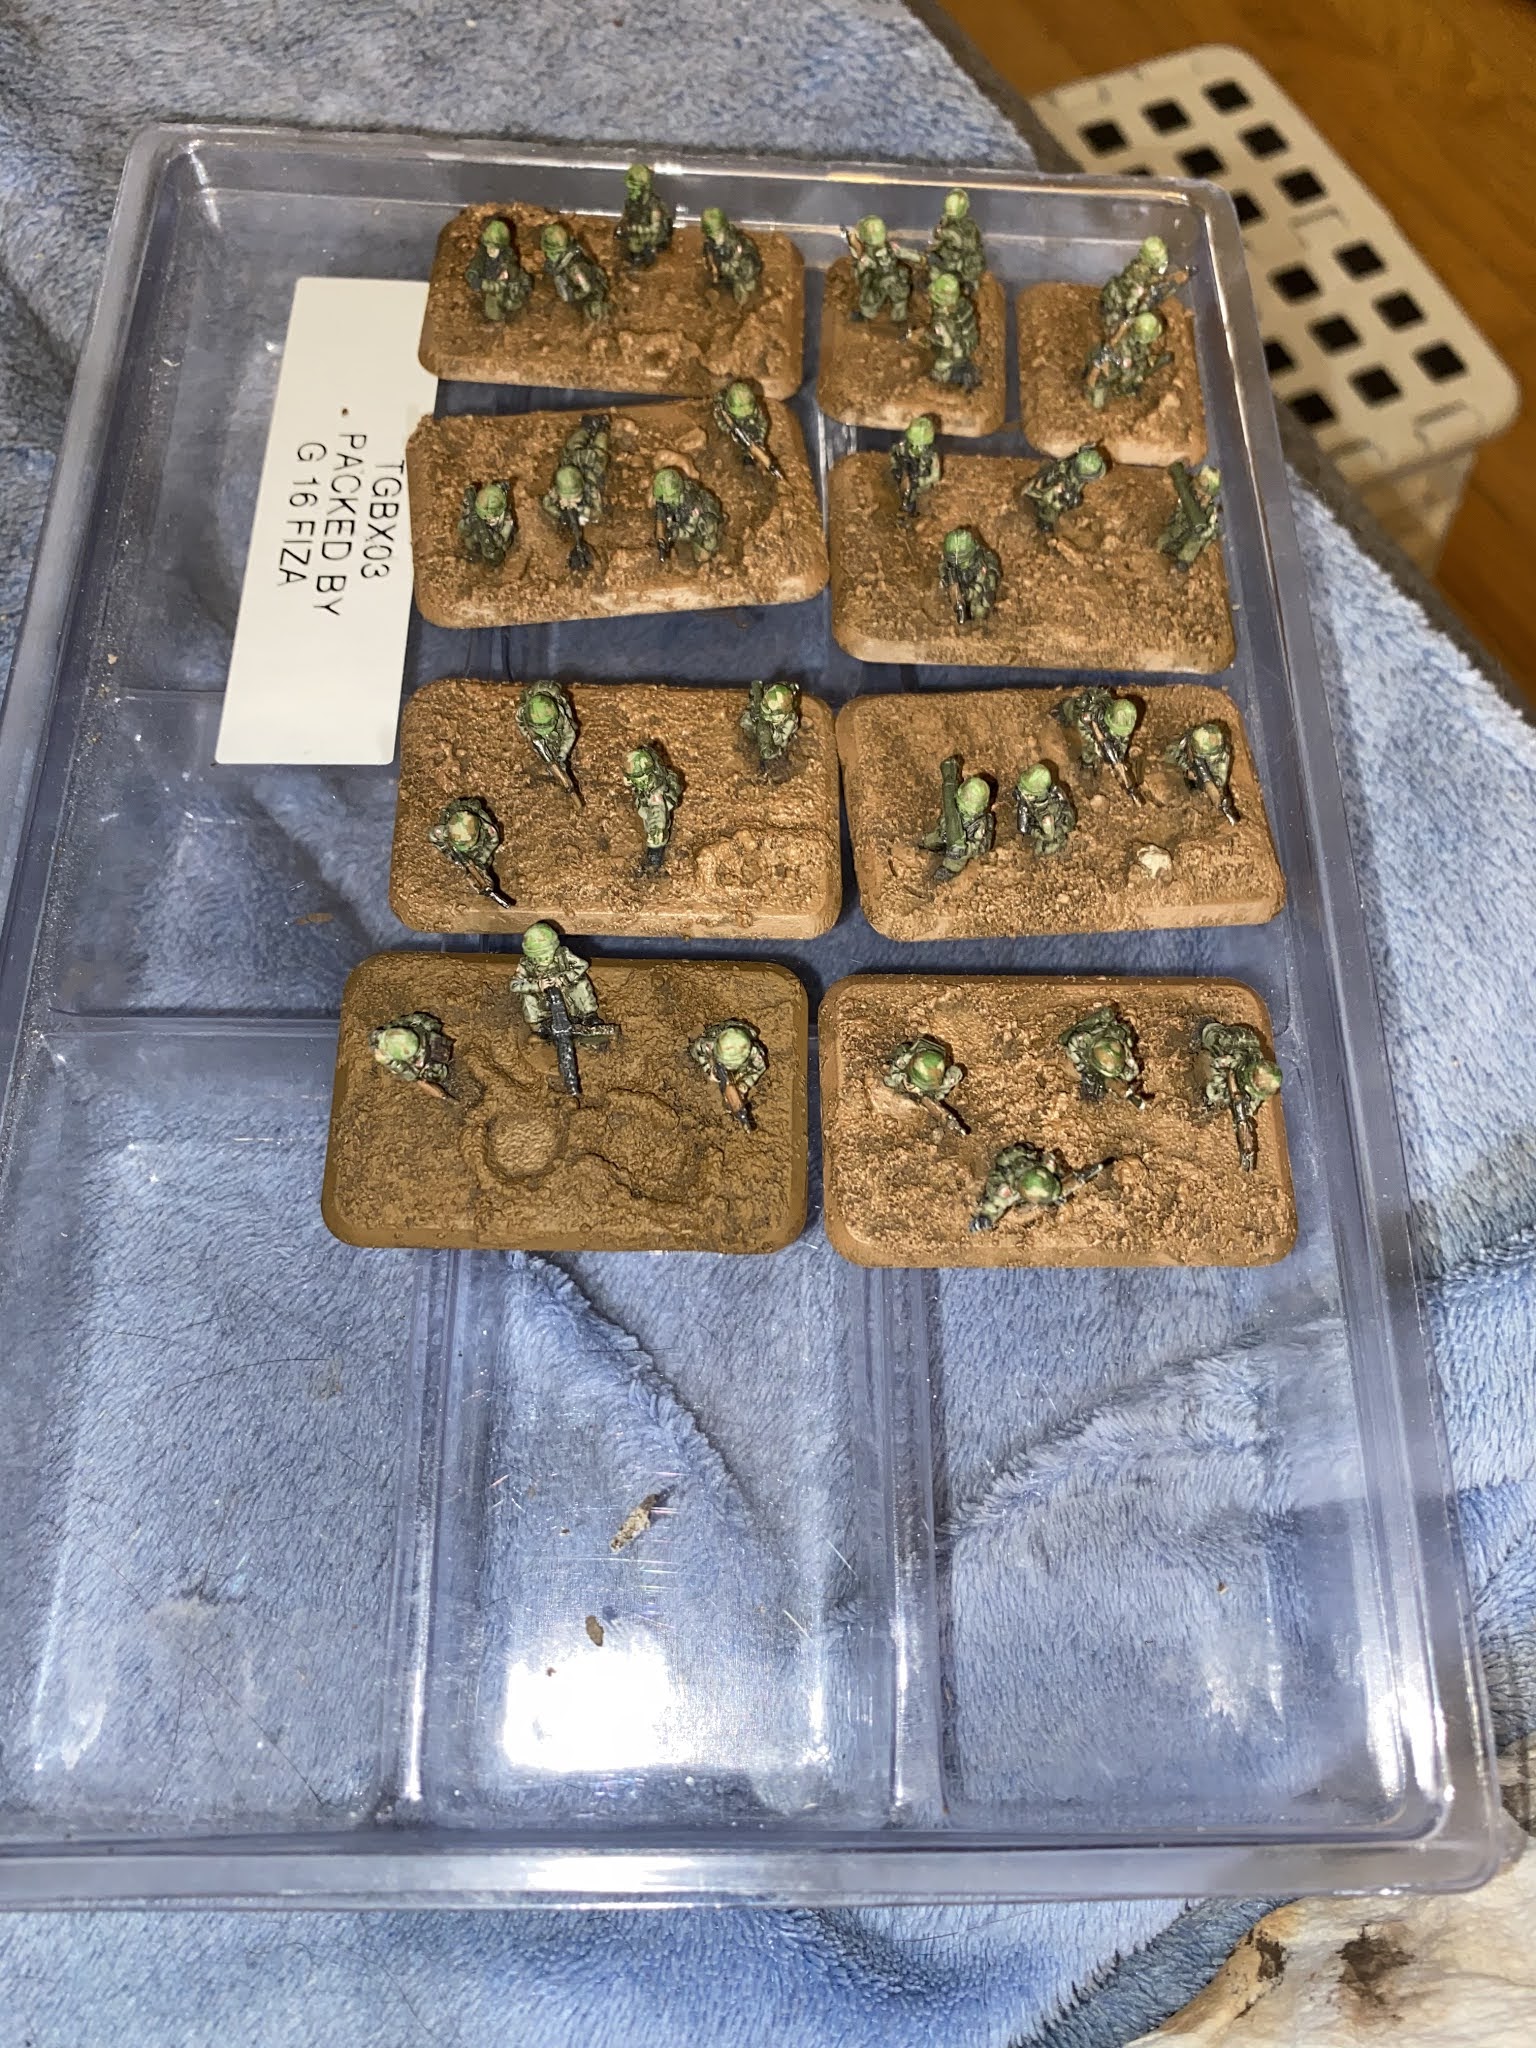
Overhead shot...just trying to capture the various tones and shades...

And in case anyone is curious on what I used for these bases, I do often use Citadel technical paints...I really do like the, they're pretty handy and makes some of the basework easier...especially when I am feeling lazy and don't want to break out my filler or sand.


Again, hope this is of help...Cheers!

Thursday, 31 December 2020

The 8th Post Over Christmas...

For my eighth post over Christmas,
I thought I would write up for you...
An 8 (-ish) step tutorial...
...for basing the figures you do...
 

7 Harry Potter figures...
6 Marvel Characters (heroes and/or villains)...

FIVE MAIN CHARACTERS...<cough...from the Night’s Watch starter set>

2 figures from Studio Miniatures; and
1 from HassleFree.
 
 
Hello folks,
 
For anyone that has followed religiously, you may recall that late summer I finally got around to basing my Canadian grunts and Soviet rifles for Team Yankee. Given that this is a special project for me I really wanted to take my time on this and make sure next steps, painting, etc were deliberate and achieved my goal.

 
From this work though, and to be honest, because I needed something that roughly fit into the 8th day slot, I thought I would write up a quick tutorial and guide showing my colour progression for my bases including flocking.
 
As always, I hope all you enjoy the post and that all is well...happy New Year to you, may 2021 be a good one for you all...we'll see how close I can get to #12 by the time the ball drops!!

The end results first...
 
1. Battlefront has been recessing their bases for some time now. It takes away the worry over evening out the surface or need for filler, you can get away with a technical paint from Citadel or just glue and sand. In this pic, I started with sand and then went over with some Citadel Stirland Battlemire and then I  quickly laid down some Vallejo burnt umber.

2. After going over the bases with another wet layer of burnt umber, I then added a wet-dry layer of VJ flat earth...I’ve left one base to show the differences in the colours.

3. Next step was to hit the bases with a dry brush of VJ beige brown...I may have gone over a couple of select spots to emphasize the tone...

4. After the beige, I then put a dry layer of VJ tan earth, reducing the amount of coverage from before and certainly from the flat earth layer...

5 & 6. At this point I want to make my last highlight a very sparingly-applied layer of VJ Iraqi sand...which I then follow up with Army Painters strong tone wash...I don’t apply the wash everywhere! Only in those spots where I want to reinforce tones or a feature, but not over the entire base.

7. At this stage you can paint on any other effects you may have, for example...if you have some urban debris, then you could paint up highlights or touch up details. I did this for my Sov’s with random ‘grey’ toned building debris, etc.

8. Finally, you can get any flock down that you’d like...


Tuesday, 7 March 2017

A Little Inspiration...New Technique...and A New Distraction

Hello everyone,

I hope you are all doing well...it is a very rainy...a little cold...bordering on a freezing day here in the Great White North.  With March upon me, I thought I'd try to get back to posting on a much more regular...not so hibernate-y basis.

Over the summer I had posted a link on TMP to my blog post of pics of a few Hasslefree figures that I had completed, Random Hasslefree Figs, and at one point I had mentioned how I did not like painting figures in white.  I had the Bubba figure, a great looking Elvis inspired figure that I elected to paint in red because of my inability to paint white.

Thanks to the TMP community and the Angry Piper, I was given a link to check out of a YouTuber who had a tutorial that covered how to paint white.  For the most part, YouTube for me is about listening to music...I know...that might sound odd...but to be honest, I don't have a lot of time to stay glued to a monitor watching videos...instead, I look up the music I like and have it play in the background...

However, after almost 4 months, I thought I'd give the Angry Piper's suggestion a try...I'm not sure why, how, or what was different this time...but, something clicked...it could be the high production values, it could be the great background music, it is definitely the great painting...but it made sense to me.

So...if you're in the mood to watch someone paint some excellent miniatures, you need to check out Sorastro's Painting...his videos are all self made, he composes the background music, he does his own editing...if you check him out you'll see he has a few painting themes.  The one that has really hooked me can be traced back to the Piper's suggestion video...Stormtroopers from the Imperial Assault boardgame...

 and so since about a month ago, I've watched easily a dozen or so videos...and...in a weak moment, I went and purchased some figures...I don't even own the core boardgame, lol...my first purchases were the Rebel Alliance Rangers (ala Endor, Return of the Jedi) and Stormtrooper Kayn Somos.  I have also starting adapting my technique to include what I've seen in the videos.

I promise to post some pics on my next post.

Take care.